What Everyone Must Know About Graphic Design Process:

Graphic design is an important visual communication tool that marketers employ to communicate vital brand messages to target audiences. It all comes down to creating eye-catching visual assets that are on-brand and linked with specific messages.
The graphic design process is what a designer does to bring design concepts to life while also meeting the needs of a customer.
Designing graphics is a creative process that is equal parts “creative” and “process.” To put it another way, a graphic designer will follow logical, step-by-step methods from start to finish. This is where unique design work and creative concepts come into play. They aren’t, however, the only abilities or factors that contribute to a great design. Communication, critical thinking, and problem solving are all important aspects of the collaborative design process.
The fact is that great design work does not just *happen* to certain people while it does not happen to others. Every professional designer has a tried-and-true graphic design approach that ensures success — and you can, too.
Design Process Steps:
Refining your graphic design process can help you achieve a more successful final product faster by streamlining cross-team activities. From the creative brief to the completed result, here’s how to convert a notion into a captivating visual communication tool:
- Creative Brief
Establishing the creative brief should be the first stage in your graphic design process before you start using digital sketching tools. This document, also known as a design brief, will include all of your client’s objectives and needs, as well as other important project details. Anyone who wishes to engage with a graphic designer should be able to express their expectations and the objectives that the design asset must achieve.
The creative brief should include:
- Brand guidelines.
- The intended audience.
- Type of asset
- The asset’s purpose and how it fits into the overall marketing strategy.
- Creative direction is the initial design concept.
- Design standards for manufacturing.
- Format and file type of delivery
- Timeline for the project, including significant milestones.
- The expense of the design work is referred to as the budget.
Review this document with all relevant stakeholders to verify that all pertinent information is included and that everyone is on the same page. Making your brief as clear and thorough as feasible may take a few tries. Make sure you have a final copy in your hands before starting to create while setting the period Any alterations to the wording might put you in a lot of trouble.
- Research
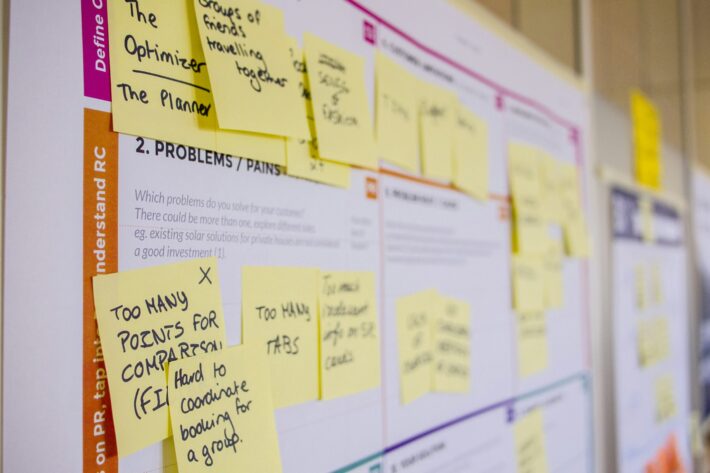
Following the creative objective, you may begin your basic visual research. Invest time in the following activities during the research phase. Make sure that you have a thorough understanding of the product or service you’re promoting. Also you can examine the design work of competitors, identify your brand’s unique selling points and placement in the market. Along with that consider how color theory and design trends may be used. A graphic designer’s job entails a significant amount of research. Your insights will be used to spark new ideas, strengthen the overall design approach with other stakeholders, and support further design choices.
- Develop and Refine Design Concept
During this step, the structure for the asset’s final appearance is created. The concept development and refining stage may include drawing out thumbnails, mockups, or graphic components, depending on what you’re working on. Larger and more important projects, such as logo design and site design, may need more fine-tuning and revisions before going into production.
It’s critical to share your early notions to the rest of the team, regardless of the size of your project. Request input on your overall strategy and the preliminary structure for your project to see if anything is missing or needs to be adjusted to better suit the project’s final aims. This way, you won’t waste all of your time and energy designing in the wrong direction.
- Design Creation
It’s time to execute the project after all stakeholders are in agreement and you have everything you need to move forward with the design. A graphic designer will be required to employ best practices in the use of color, typography, information hierarchy, and positive and negative space during the design stage. They’ll also put their technical talents to the test, making use of the appropriate software and other design tools to complete the task as quickly as feasible.
Conduct a self-critique and evaluate your work with an editing eye before sending it off for feedback. Is there anything in the design that doesn’t appear to belong? Is your visual hierarchy in accordance with the creative brief’s objectives? This is the moment to make any last revisions, although the editing process isn’t over yet.
- Collection and Implementation of Feedback
The feedback stage consists of a number of smaller processes that enable quality control and exact alignment with the goal of your stakeholders.
This procedure entails,
Internal evaluation of the design work.
Making any adjustments that are requested.
Showing your customer or other stakeholders the new design.
Explaining how your design choices correspond to the creative brief and the agreed-upon direction.
Obtaining input from all parties.
Confirming the next steps you’ll take.
Making the desired modifications.
To the rest of the team, presenting this revised version.
Repeating until you’ve arrived at the final version and there are no open change requests.
- Finalizing and Delivering The Design Assets
After getting the final approval from all parties, you’re ready to deploy the assets in the right formats. They should be packaged in a way that allows them to be simply incorporated into any digital or print format your recipients want.
The deliverables you should share should be specified in your creative brief. For example, you should submit the item in the appropriate file formats and sizes so that no adjustments are required afterwards. Helping your recipients avoid the effort of altering files or requesting further assistance can improve everyone’s experience.
Conclusion
Graphic design and marketing are inextricably linked, and creating marketing outcomes is difficult without a sound strategy for communicating across teams and providing visual assets that suit your requirements.
After your creative brief has been accepted, it functions as both an instruction manual and a contract for this project. It’s a tool that you may use as a designer to keep your projects on track. You can use this resource if you ever get stuck.
Organizations should surely use design feedback tools and expedite the proofing process for art and design projects in addition to these methods. Some of these design approval softwares are QuickReviewer, Filestage, SyncSketch, ProofQuick, Ashore, Aproove, GoVisually and many more. This can help you reduce the amount of evaluations you get, provide more accurate input, and keep everyone focused on the same goal.